Creating frothy milk is quite a different challenge. This article offers some tips and explains how do you keep frothed milk frothed?

Some people like milk in their coffee. I am not one of them, but I can see the appeal in it. Frothing causes the formation of microbubbles which alter the surface of the milk and stimulates the taste buds.
If you are in the habit of making your coffee at home, you must learn to make the froth as well. More importantly, you must learn how to keep frothed milk frothed. Fortunately, this can be done with common household items.
What To Know Before You Froth

Frothing your milk involves heating it. What you must be careful of here is burning the milk. For most types of milk, this occurs at 170 degrees Fahrenheit.
You should also fill whatever container you are using to froth halfway. The formation of foam and froth will nearly double the volume of the original liquid. Avoid spillage and mess with a lighter touch as you pour.
4 Methods On how Do You Keep Frothed Milk Frothed
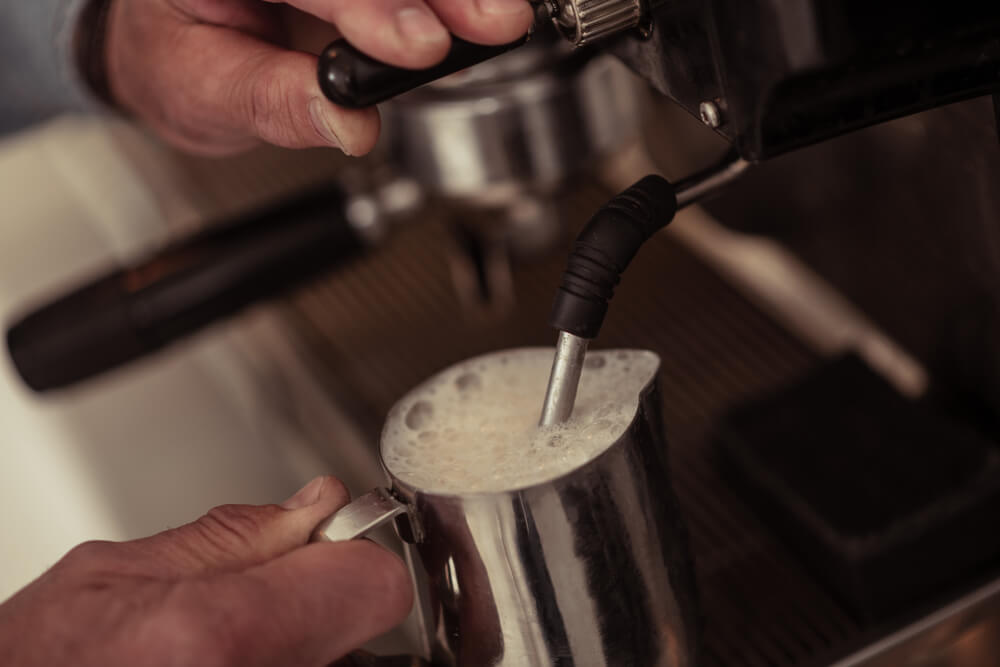
Frothing is only a temporary state. Once you have gotten the foam and bubbles going, the only way to keep them is to repeat the frothing process. Here are some of the methods to get and keep milk frothed:
1. Hand Whisk It
This is one of the simpler methods. All you need do is re-heat the milk (add more in if you fancy), pour it into a large bowl, and then whisk it vigorously. The faster you whisk the more foam you will create.
2. Use An Immersion Blender
Warm up the milk, pour it into the blender, and blend at a low speed until you see the bubbles appear. The froth created by a blender is thick and foamy—perfect for those who like a little coffee with their froth!
3. Try The Jar-to-Jar Jostle
Re-heat your flat and de-frothed milk. Get two jugs of equal size. Pour the heated milk into the jugs. And then pass it back and forth between containers. You can also pour through a filter to increase aeration. This method takes longer, is a little messier, and produces foam that is rather thin.
4. Use A Sealed Jar
The same initial steps as before. Re-heat the milk. Pour the warm milk in an empty jar—a little more than halfway—and seal it tightly. Shake the jar vigorously for sixty seconds. This will give you froth that is nearly double the volume of the milk.
You will need to get the froth into your coffee straight away. This method is not as stable as the others. The froth tends to deflate quickly.
Out of curiosity, I tried all these methods myself, just to see what would happen. The hand whisk gives the thickest and most sustainable froth. However, it is not as mess-free as it may appear.
You definitely need to use a deep and large bowl if you want to avoid spillage. The handier you are with a whisk the less you will have to clean up afterward.
Using the immersion blender was the easiest way to re-froth milk. The bubbles are larger than the ones generated by the hand whisk, and the overall result is a very thick and velvety bit of froth.
Unless you have more than ordinary dexterity with your hands, I do not recommend the jar-to-jar jostle method. It does create a great many bubbles, but the froth is not as thick as that produced by the other methods. If you liked this post, check out our guide on milk frothing alternatives.