Set aside the usual Coffee Mate for now. Read on to learn how to make coffee creamer at home and elevate your cup of Joe with these coffee creamer recipes.
Growing up in a family of coffee drinkers, store-bought creamers were always a staple when we did our groceries. This was before the liquid form came out, so I often mistook it for powdered milk back then. Today, we have flavored creamers available that often look like coffee drinks on their own.
While the wide array of options is fascinating, our morning coffee can taste a little better by making your own coffee creamer at home. It can be more efficient and a bit healthier for us, not to mention you can play around with different flavors.
The prep time and total time won’t take more than 15 minutes. All you need is to gather your materials and ingredients. With that being said, here are some homemade coffee creamer recipes you should try.
Regular Coffee Creamer
Materials Needed
Equipment:
- 32 oz. mason jar (or any airtight container)
- Saucepan (optional)
Ingredients:
- 14 oz. of sweetened condensed milk
- One and three-quarter cups of milk (preferably low-fat or skim milk)
- One to three teaspoons of vanilla extract or maple syrup (optional)
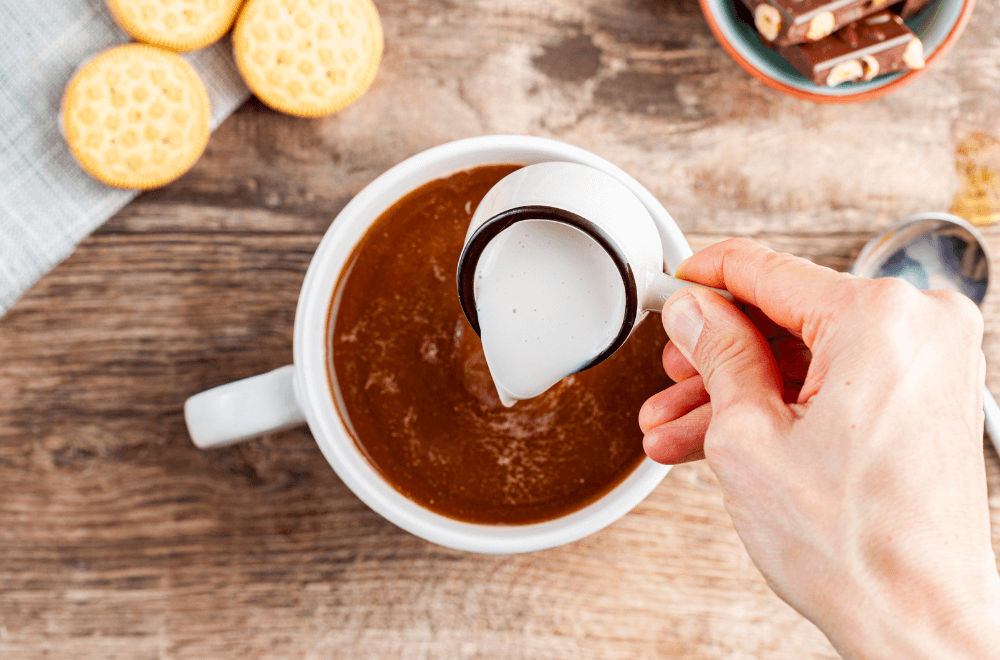
Step One: Wash Your Mason Jar
Make sure to clean the jar thoroughly since we will be handling milk. Wash the lid as well, as it will be crucial later on. Dry out the outer part of the jar with a cloth, as you will need to be able to grip it tightly later.
Step Two: Mix Your Ingredients
Pour your sweetened condensed milk, additives, and milk of choice into the jar. Low-fat or skim milk should be your first option, but you can opt for heavy cream if you are looking for a thicker texture though it isn’t the healthiest of choices due to its saturated fat content.
If you have the time and you really want to incorporate the ingredients together, you can mix it all up in a saucepan over low heat and combine it with a whisk or any other utensils.
Step Three: Shake The Jar
Cover the jar well. I use a food wrap to cover it up first before putting the lid on to prevent spills when mixing.
Give your jar a good shake for around three to five minutes or until you see the creamer become smooth. If you use the saucepan to mix the ingredients, let it cool down for eight to ten minutes before putting it in the jar.
Step Four: Serve And Store
Remove the food wrap cover if you used any. Your creamer is now ready to serve! This homemade coffee creamer is good for around ten to 15 cups of Joe. Store the unused creamer in the refrigerator, where it can last up to a week.
Only make a large batch if it is for a social event. A sizable serving size, even for regular coffee drinkers, isn’t recommended since dairy can easily spoil. Checking the milk’s expiration date can also help you gauge how long it can last in the fridge.
Half-and-half is also a great alternative to your milk. Check out our guide on how to make half-and-half!
French Vanilla Coffee Creamer
You can make one of the most popular coffee creamer flavors in the United States at home! It has a yummy custardy taste with a rich vanilla flavor and is perfect for emulating a French vanilla coffee. You might also be interested in our guide on how to make espresso with butter.
Materials Needed
Equipment:
- 32 oz. mason jar (or any airtight container)
- Saucepan
Ingredients:
- 14 oz. of sweetened condensed milk
- One and three-quarters cups of milk (preferably whole milk)
- Two to three tablespoons of vanilla extract
- Half a tablespoon of vanilla syrup (optional)
Step One: Prepare Your Materials
Wash your mason jar thoroughly before use and dry the outer part with a cloth. Once that’s done, put your saucepan on your stovetop over low heat.
We will be using thicker ingredients such as whole milk, vanilla extract, and vanilla syrup, so we will need an increase in temperature to combine them thoroughly. Don’t go beyond low heat, as the milk might curdle.
Step Two: Add The Ingredients
Add the sweetened condensed milk, your whole milk, and the vanilla extract to the saucepan. You can add the vanilla syrup here as well, but I add it once I transfer the mixture to the mason jar. Stir thoroughly until you see a smooth but creamy consistency.
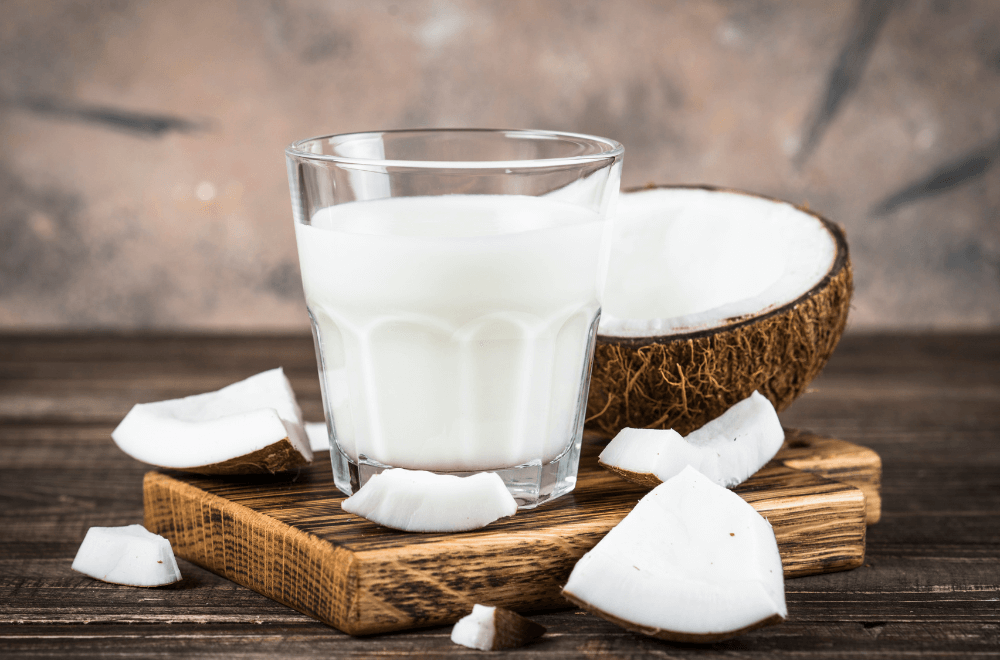
If you’re using a vanilla bean, I suggest preparing it first before pouring the ingredients into the saucepan. You can omit the vanilla syrup as the seeds have a more concentrated flavor. Coconut milk is also a great alternative to your French Vanilla coffee creamer as it can add a nutty and tropical sweetness to it.
Step Three: Cool Before You Transfer
Let the mixture cool in the saucepan for around eight to ten minutes before you carefully transfer it to your mason jar. If you opted for a vanilla bean, you can add the leftover pods and steep it with the mixture for an extra vanilla flavor.
Step Four: Serve And Store
The mixture is good for ten to 15 cups, depending on your serving size per cup of coffee. I suggest using it if you are making your own French Vanilla iced coffee latte at home or for your friends!
Pour the leftover creamer into your mason jar and store it in the refrigerator. The homemade coffee creamer can also last for up to a week.
Mocha Coffee Creamer
For those who prefer a delightful chocolate flavor, this homemade coffee creamer recipe is something you can put in your morning coffee or when baking a dessert for the kids!
Materials Needed
Equipment:
- 32 oz. mason jar (or any airtight container)
- Saucepan
- Sifter (optional)
Ingredients:
- 14 oz. of sweetened condensed milk
- One and a half cups of milk
- Three to four tablespoons of cocoa powder
- One half to a full tablespoon of chocolate syrup or a chocolate bar (optional)
Step One: Prepare The Materials
Clean your mason jar and pre-heat your saucepan over low heat. If you have a sifter, you can start sifting your cocoa powder to prevent it from chunking so that it can combine faster with the mixture.
Step Two: Simmer Your Mixture
Pour your sweetened condensed milk and milk of choice into the saucepan. You can use whole milk for a sweeter and creamier flavor or skim milk to elevate the chocolate flavor. In addition, if you want a thinner consistency, you can swap your sweetened condensed milk with evaporated milk.
Next, add the cocoa powder gradually while stirring to ensure that it melts and combines well with the mixture. If you want to add a sweetener, I suggest using chocolate syrup or a melted chocolate bar of your choice instead of powdered sugar.
Step Three: Let The Mixture Rest
Once you confirm that there are no remaining clumps of cocoa powder, let the mixture cool down for ten to 15 minutes. Chocolate is thicker and has a higher density, so it will take a bit more time to cool.
Step Four: Serve And Store
Your mocha-flavored homemade coffee creamer is ready to be served! The mixture is good for 16 to 18 cups, depending on your serving size per cup.
Transfer the leftover creamer to your mason jar and store it in the refrigerator, where it is good for a week. If you are craving a staple holiday Starbucks drink, you can add half a teaspoon of peppermint extract to turn your regular cup of coffee into a peppermint mocha latte!
Pumpkin Spice Coffee Creamer
You can add a bit of zing to your java by turning it into a pumpkin spice latte with this homemade coffee creamer recipe. It is much cheaper than buying flavored coffee in Starbucks and can be easily made at home.
Materials Needed
Equipment:
- 32 oz. mason jar (or any airtight container)
- Saucepan
- Spoon
- Strainer
Ingredients:
- 14 oz. of sweetened condensed milk or evaporated milk
- One and a half cups of milk of choice (whole milk or sweet cream)
- Two to three tablespoons of pumpkin puree
- One to two teaspoons of pumpkin pie spice powder
- One to two cinnamon sticks
- One to two tablespoons of sweeteners (optional)
Step One: Ready Your Materials
Always start by cleaning your airtight container so you can easily transfer your mixture once it is done. Heat your saucepan over low to medium-low heat.
Step Two: Transfer Your Ingredients
Put all the ingredients into your saucepan but leave the cinnamon sticks for now. If you are using sweetened condensed milk, you can remove the sweeteners. Otherwise, if you have a sweet tooth, I recommend caramel or maple syrup.
Use evaporated milk if you want to highlight the pumpkin spice flavor.
Step Three: Stir Thoroughly
While stirring, use your spoon to push down on the puree and powder chunks (if there are any) to make your mixture smoother. After 30 seconds, add your cinnamon sticks and stir for another 30 seconds or up to one minute.
Turn off the heat and let it cool down for around five to eight minutes. This will let the cinnamon flavor incorporate fully into your creamer.
Step Four: Strain The Mixture
Once it cools down, use a strainer and transfer the mixture into your mason jar or any airtight container to remove the remaining chunks. You can now use this creamer to make your own pumpkin spice latte!
The creamer is good for one week and can serve up to 14 cups. You can check out our article to learn more about the pumpkin spice latte and pumpkin spice crème.
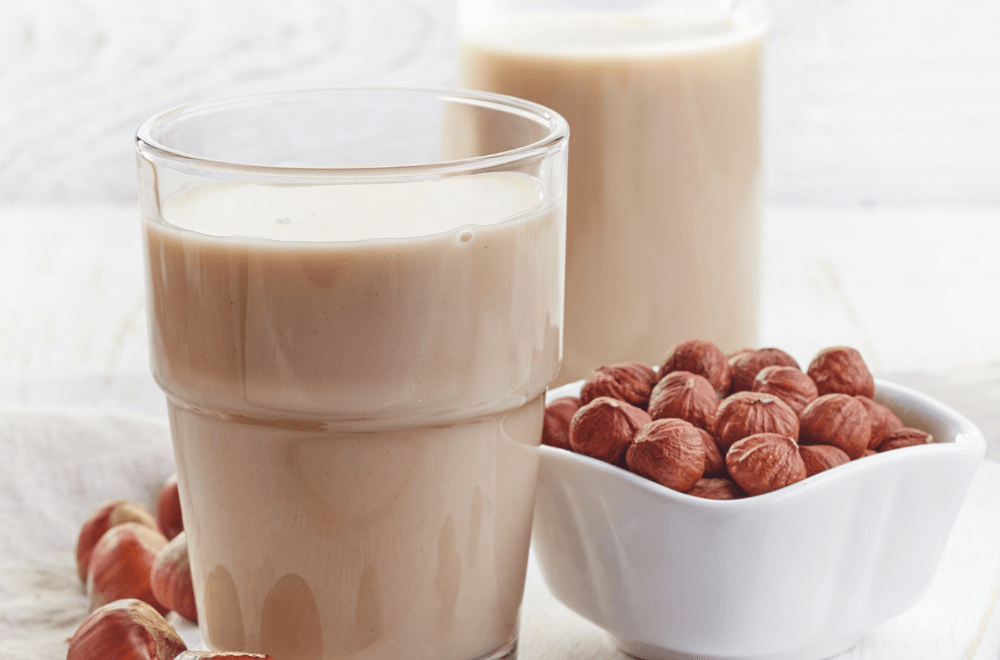
Hazelnut Creamer
One of Coffee Mate’s best-selling liquid creamers is their hazelnut variant. It can easily be bought through Amazon or in grocery stores, but you can also make one at home! There is a sugar-free version of this, but I usually add a small amount of sweetener to complement the nutty and smokey flavor.
Materials Needed
Equipment:
- 32 oz. mason jar (or any airtight container)
- Saucepan (optional)
Ingredients:
- 14 oz. of evaporated milk or half-and-half
- One cup of milk of choice (optional)
- One to two tablespoons of hazelnut extract
- One to two teaspoons of hazelnut syrup (optional)
- Two to three tablespoons of sweeteners (optional)
Step One: Wash Your Container
You won’t really need a saucepan for this one, so all you have to do is to wash your container. However, if you will be using sweeteners such as honey or maple syrup, you can simmer it along with the other ingredients so it can quickly melt and mix.
Step Two: Fill The Container
Combine all of the ingredients inside your mason jar or any airtight container. I would still recommend using a food wrap to seal it first before closing the lid.
If you want to add another cup of milk, I suggest using almond milk to add another layer of nutty goodness to the creamer. Another option is hazelnut milk to heighten the creamer’s flavor. If this is the case, you can switch the hazelnut syrup with a teaspoon of almond extract.
Step Three: Shake The Ingredients
Give the container a good shake once you confirm it is tight. Do this for around five minutes or until you see it has achieved a smooth consistency. You can use also use a hand blender if you have one in the kitchen, but set it to low and blend gradually so you don’t turn it into foam.
Step Four: Serve And Store
Your creamer is ready to serve and can accommodate up to 14 cups. The creamer can be stored in the refrigerator for up to one and a half weeks.
FAQs On Coffee Creamer
Is Homemade Coffee Creamer Healthy?
It depends. Most homemade coffee creamers are healthier since you can control what goes in. It can have milk which contains protein, calcium, and potassium, among others.
It also contains small amounts of vitamin C but isn’t a huge source of it.
Are Store-Bought Coffee Creamers Healthy?
Store-bought ones are usually heavily processed and have high sugar and carbohydrate contents which can increase your cholesterol levels. If they do have one advantage, it is that they are much more flavorful and have a vast number of variations to choose from.
Can You Reheat Homemade Coffee Creamer?
Yes, you can! You can reheat it over low heat or via microwave on the low setting. Be careful, as too high of a temperature can make the creamer curdle. It might also separate the fat, which can create an unappetizing layer on top.
Can I Use Coffee Creamer For Other Things?
Yes! It can be used as a milk substitute for baking or additional flavoring for cream-based soups. Though it is called a coffee creamer, you can also add it to tea or hot chocolate.
Check out our how-to guide to know where you can use coffee creamer for other things.
How Long Can A Homemade Creamer Last?
It depends. It isn’t unheard of for a refrigerated homemade creamer to last up to two weeks.
The safest answer is seven to ten days. Check the look, smell, and taste, as these are good indicators. If something is off, it is best to throw it out.