Learn how to roast coffee beans at home for greater control over flavor and ensure you get the freshest coffee possible. It’s not as complicated as you’d think, either.
All you’ll need is a general understanding of what happens during the roasting process, the right equipment, and a willingness to learn. In the end, you’ll have a delicious cup of freshly roasted coffee.
What Happens When You Roast Coffee Beans?
If you’ve never seen a raw coffee bean, you might be surprised. Raw coffee beans are green and contain a lot of water. You can’t grind a green bean because it’s too wet, and they have a grassy taste that doesn’t make for a good cup of fresh coffee.
Roasting raw coffee beans sets off a series of chemical reactions that cause deep, complex flavors and aromas to develop while also drying out the bean enough to grind it.
The drying is the first stage of the roasting process. This involves drawing out the moisture and causing the bean to turn yellow. As the process continues, the beans turn brown, and important changes begin to happen within the beans that create deep flavors and delicious scents.
The browning stage ends when the beans crack for the first time as the pressure inside builds. As the rest of the water inside the bean evaporates, the beans crack a second time, becoming darker in color. Generally, a light roast is finished before the second crack; a darker roast finishes after.
How to Roast Coffee Beans at Home – Step-by-Step
1. Find Green Coffee Beans
When you’re first starting, you probably won’t have a very good idea of the kind of coffee you prefer, so experiment with different types until you find one that suits you. Buying sample packs is a good idea in the beginning until you find something that you like.
If you’re looking for a sampler pack to get you started, here are some great options to consider.
Once you have your beans, store them properly in a cool, dry place away from direct sunlight.
2. Choose Your Roasting Method
Two of the most affordable methods are skillet or oven roasting, but they aren’t great for beginners because you need to know what you’re doing to get an even roast.
Popcorn machines are a popular choice for home coffee roasting, especially for small quantities, but once you get a taste for home roasting, you’ll probably want to upgrade to a home coffee roaster. It’s a personal choice which is best for you, but here are some great options to consider.
3. Prep
Before you start roasting, it’s important to set everything up properly. Good ventilation is really important. Keep the extractor fan running and the windows open, or roast outside where the heat and smoke can be safely released.
There are a few pieces of equipment you should have on hand, including a small scale, oven mitts, and a small fan and sieve or colander for cooling.
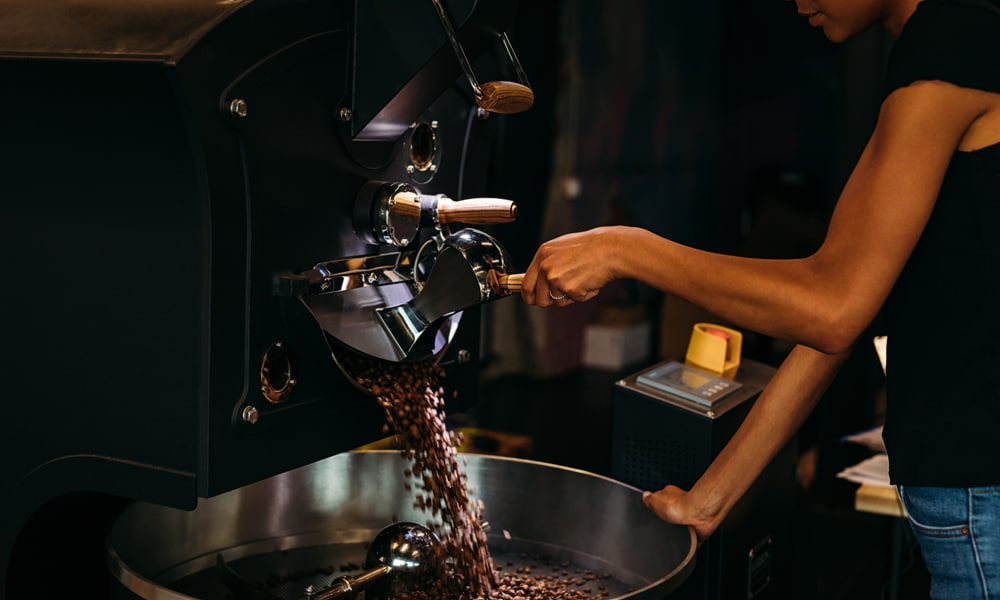
4. Get Roasting
If you’re using a home roaster, read through the directions to learn how to develop different flavor profiles. If you’re using a popcorn machine, the biggest thing to keep in mind is not to overfill it.
Air roasters and popcorn machines get the job done in eight to 12 minutes, while a drum roaster can take as long as 20.
Constant movement is important to get an even light, medium, or dark roast, which is one reason why using a popcorn machine or home roaster is easier than using a skillet or oven-roasting technique. A popcorn popper and home roaster automatically move the beans around for you, while you have to manually stir the beans using the other methods.
5. Cool the Coffee Beans
After you get the roast you want, remove the beans from the heat and let them cool completely. They keep roasting until they are completely cool, so consider removing them a minute or two early. Use the sieve to hold the beans and a fan to cool them off, or place the beans outside in cool weather.
6. Store the Coffee Beans
When the beans reach room temperature, they are ready to be stored. Remember, keep them away from heat, light, and air. Sealed, foil-lined bags are great, but you can also use an airtight container that keeps out the light.
Avoid These 6 Common Coffee Roasting Mistakes

Some mistakes are easy to make with a home roast. Take these steps to avoid them:
- Using the beans too early. Wait a day or two before grinding the beans for brewing coffee to make sure they’re properly degassed.
- Using too many beans. If you do, they won’t absorb the heat properly and the roast will be uneven.
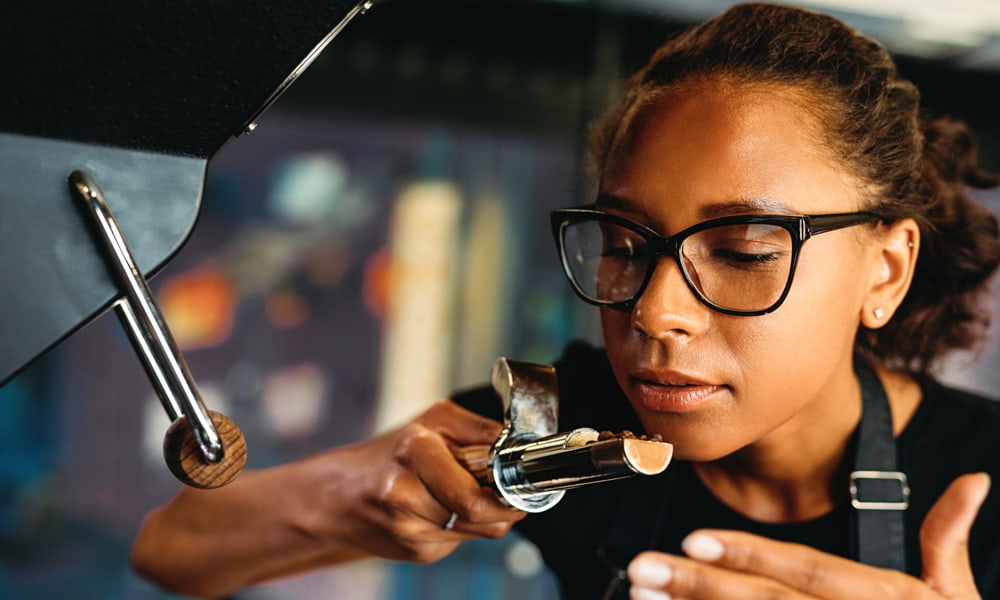
- Not timing your coffee roast. Sometimes, machines may need longer to heat up or the air temperature might cool the beans faster. It’s more important to go by how the beans look and smell than it is to watch a clock.
- Pay close attention to the first and second cracks. It’s helpful to know how hot the roaster is, but this doesn’t tell you what’s going on in the beans.
- Not cleaning your roaster. Oils and the dried outer layer of the beans can build up and cause problems with future roasting.
- Getting distracted. Roasting coffee beans is pretty straightforward, but it’s easy to make a mistake. Pay close attention to your beans. Roasts can change very quickly, and timing is so important, you have to pay close attention to make sure you get it right.
The Final Word on Roasting Coffee Beans
Brewing the perfect cup of coffee is part art and part science. If you learn how to roast coffee beans at home, you can improve the quality of any cup and save money too. Plus, it will impress your neighbors when they call over for coffee.