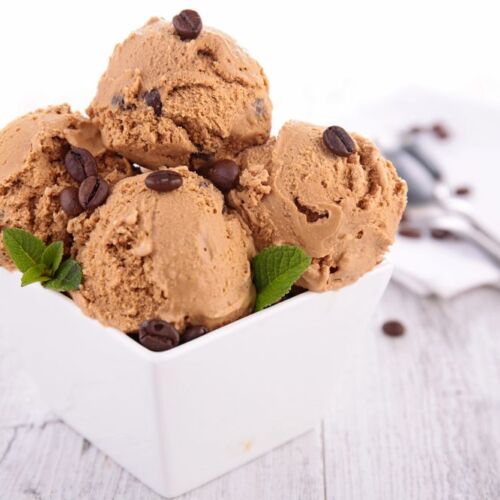
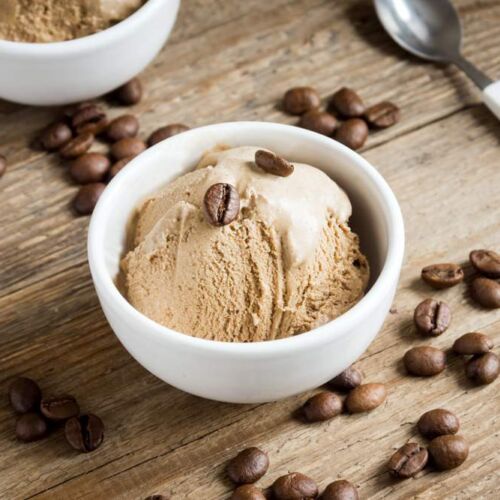
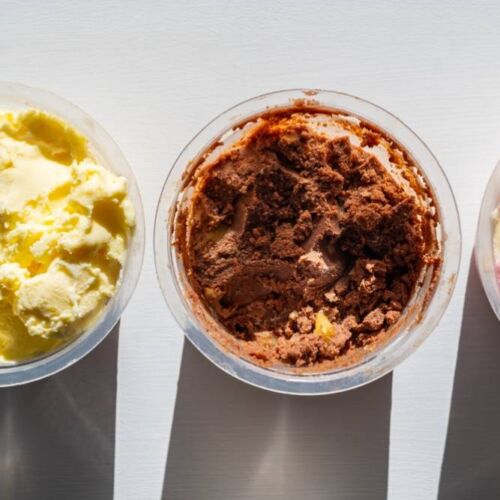
Are you looking for the best homemade coffee ice cream recipe? Here are my five ideas to inspire you, plus some tips for those making it for the first time.
Making homemade coffee ice cream at home is easy and fun. You need a few basic ingredients to get started, like milk, cream, sugar, and coffee. Mix them together and let the ice cream mixture settle in the fridge for a few hours before serving.
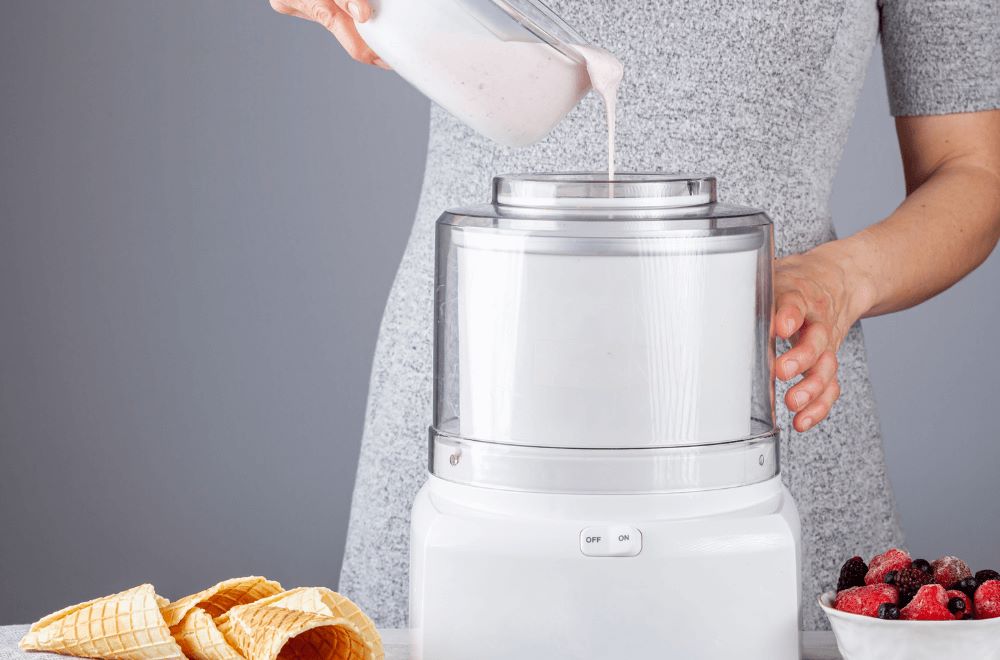
If you have an ice cream maker at home, it will save you lots of time from churning the mixture yourself. Otherwise, you can use an electric hand mixer.
A classic recipe is flavorful and creamy. Alternatively, add some Kahlua to give it a pungent kick or add condensed milk to enhance its sweetness.
Without further ado, here are my six favorite homemade coffee ice cream recipes you can make at home this summer. First, you might be wondering does coffee ice cream contain caffeine.
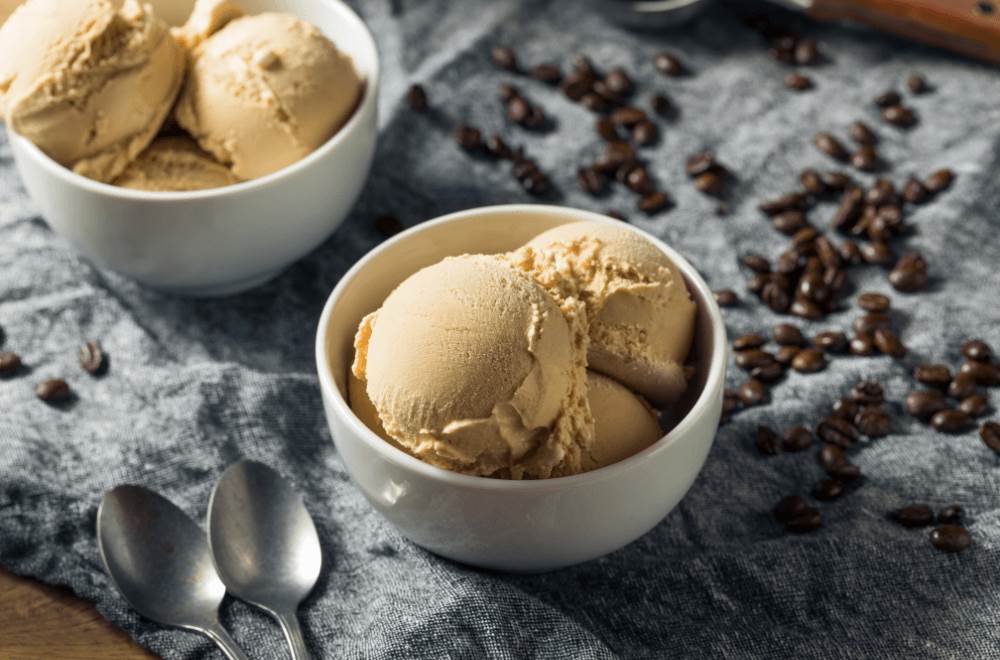
Classic Homemade Coffee Ice Cream Recipe
Classic Coffee Ice Cream Recipe
Equipment
- Saucepan
- Spoon
- Whisker
- Strainer
- Thermometer optional
- Ice cream maker
- Glass jar or box
- Air-tight container
Ingredients
- 6 large eggs separate yolks and whites
- 3/4 cup sugar
- 5 tbsp medium grind coffee brew
- 1&1/2 cups heavy cream
- 1&1/2 cups whole milk
- 1/2 tsp salt
Instructions
- Add the egg yolks, sugar, and brewed coffee to the saucepan and whisk it until combined.
- Once the mixture is set, add heavy cream and whole milk and whisk it until the new mixture is fully incorporated.
- Put the saucepan over medium-low heat and start whisking slowly with a spoon.
- Keep it going until you see a custard begin to form and coat the spoon. Alternatively, use a cooking thermometer to check if the temperature reaches 170°F.
- Add salt to taste.
- Turn off the heat and transfer the mixture into a clean glass jar or a box through a strainer.
- Pop it into the fridge until it reaches 40°F.
- Transfer it to the ice cream maker and keep churning for half an hour until it’s ready.
- Store ice cream in an airtight container in the freezer until it hardens. It should take about four hours.
Eggless Instant Coffee Ice Cream
Eggless Instant Coffee Ice Cream Recipe
Equipment
- Ice cream maker
- Blender
- Mixing bowl
- Spatula
- Air-tight container
Ingredients
- 3/4 cup whole milk
- 1&1/2 cup heavy cream
- 3/4 cup sugar
- 1&1/2 tbsp Vietnamese instant coffee
- 1 tsp salt
Instructions
- Add whole milk, sugar, and instant coffee powder into a mixing bowl. Mix it well with the spatula.
- Pour the mixture into a blender and blend at a medium speed until the sugar and coffee have dissolved.
- Pour it out into a mixing bowl again and add heavy cream.
- Stir gently until all ingredients are fully incorporated.
- Place the mixture in the fridge. Let it chill for at least two hours.
- Take the mixture out of the fridge and pour it into the ice cream maker. Churn the ice cream for half an hour.
- Transfer the ice cream to an airtight container. Keep the container in the fridge again and let it freeze for at least four hours before serving.
Homemade Ice Cream With Condensed Milk
Ice Cream With Condensed Milk Recipe
Equipment
- Mixing bowl
- Electric hand mixer
- Spoon
- Mortar and pestle or a baking roller
- Air-tight container
Ingredients
- 14 oz chilled condensed milk
- 22 oz whipping cream
- 1 tsp vanilla extract
- 5 oz biscuits
- 1 shot room-temperature espresso
Instructions
- Add the condensed milk, whipping cream, and vanilla extract to a mixing bowl. Keep whisking over slow speed until combined. Increase the speed until the mixture becomes fluffy and light.
- Smash your biscuits or cookies into tiny bits with a mortar and pestle. Alternatively, put your cookies in a ziplock bag, place them on top of a flat surface, and use the baking roller to smash them into crumbs.
- Add the crumbs to the ice cream mixture.
- Slowly pour the espresso into the mixture and start folding everything until combined.
- Transfer the mixture to an air-tight container. Pop it in the freezer and let it chill for at least five hours before serving.
Mocha Almond Fudge Ice Cream
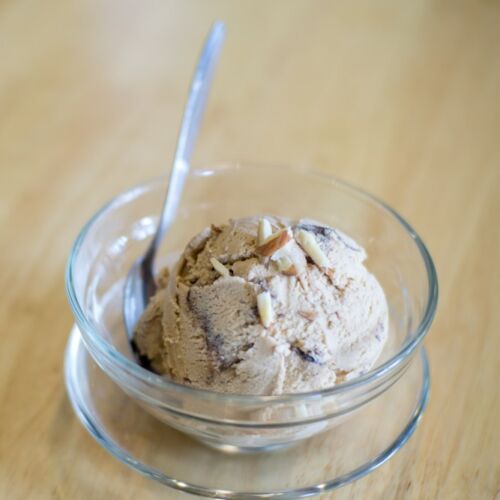
Mocha Almond Fudge Ice Cream Recipe
Equipment
- Mixing bowl
- Electric hand mixer
- Spatula
- Spoon
- Air-tight container
Ingredients
- 2 cups heavy whipping cream
- 2 tbsp instant coffee powder
- 14 ounces chilled sweetened condensed milk
- 1/2 cup chopped almonds
- Hot fudge sauce
Instructions
- Take the beaters out of your electric hand mixer and put them in the fridge along with the mixing bowl and heavy cream for 30 minutes before mixing.
- Take the beaters, mixing bowl, and heavy cream out of the fridge.
- Add heavy cream and instant coffee into the mixing bowl and whisk it up until stiff peaks form. It should take three to five minutes.
- Add sweet condensed milk into the mixture and gently stir with a spatula until combined.
- Transfer the mixture to the air-tight container. Pad it out until the surface is flat and even.
- Sprinkle chopped almonds and drizzle with hot fudge sauce all over the surface. Decorate it to your liking.
- Pop it in the freezer for at least four hours before serving.
Kahlua Coffee Ice Cream

Kahlua Coffee Ice Cream Recipe
Equipment
- Mixing bowl
- Electric hand mixer
- Air-tight container
- Spatula
- Ice cream maker
Ingredients
- 10 tbsp sugar
- 2 oz whole milk
- 10 oz chilled heavy whipping cream
- 1 large egg
- 2 & ½ oz Kahlua
- 1 shot room-temperature espresso
Instructions
- Use the electric hand mixer to beat the egg before adding sugar. Keep whisking until the sugar dissolves.
- Add the whole milk, whipping cream, espresso, and Kahlua to the egg mixture. Keep whisking until combined.
- Pour the mixture into the ice cream maker and keep churning for half an hour.
- Transfer the churned mixture to the air-tight container and freeze at least four hours before serving.
Tips To Perfect Your Homemade Coffee Ice Cream
Opt For Medium Roast Coffee

Instant coffee works just fine but if there’s any chance you can get ground coffee, go for a medium roast. If you use light roast coffee, it will be too plain or outshined by the richness of heavy cream. Meanwhile, dark roast coffee is just too bitter.
Therefore, medium-roast coffee delivers the perfect balance for ice cream.
Use The Right Amount Of Coffee
Making coffee ice cream is a tad different than making your daily morning grind. The rule of thumb is to use more coffee in ice cream than you would use to brew your everyday coffee. This is to make sure the ice cream base will not completely dilute the coffee.
Stick To Ice Cream Maker
Owning an ice cream maker will make your life a lot easier. If you don’t have an ice cream maker at home, check out this nostalgic vintage electric ice cream maker. It’s not as expensive as you might think, but it still works like a charm.
If you liked this post, you might be interested in our guide on what goes well with coffee ice cream.