Which makes better coffee – Inverted or Normal Aeropress? Read this article to find the difference between inverted and normal Aeropress and how to make great inverted Aeropress coffee.
When I bought my Aeropress two years ago, my excitement knew no bounds. I felt like I had hit gold as this was one of the quickest ways to brew great coffee, even when I am camping outdoors.
I had not even soaked in the joy completely when a friend introduced me to a different way of using Aeropress – the inverted method. Woah. Mind-blowing!
So, what’s the difference between the inverted and normal methods?
In the normal method, coffee starts dripping immediately so the brew at the bottom is weak and under-extracted. In an inverted method, you can let the grounds steep as long as you want before turning it upright and pressing the plunger. This gives a more balanced flavor.
While the difference in ‘flavor’ is just one aspect, there are several other minor differences that can impact the end result and your overall coffee experience. Read on to find out how you can have more control of variables in the inverted method, and tips for better brewing.
Why Do I Prefer The Inverted Method?
My personal preference for Aeropress coffee is the ‘Inverted method’ because I feel the flavor is evenly distributed. All coffee grounds make contact with the water in the same ratio. That means you get the same great taste even in the last sip.
After a couple of stirs, the grounds are fully saturated in water and you just need to let them sit depending on your personal preference. In an inverted method, you have more control over the variables like bloom time, brew time, and more.
After several tests and trials using the inverted method for about two years, here are a few things I like and don’t like about this brewing style.
What I Like About The Inverted Method
The biggest advantage of the upside-down method is that you can brew and steep your coffee grounds as long as you want without worrying about coffee dripping through the filter. This lets you have a full-bodied coffee that tastes great to the last drop.
There is more contact between water and coffee grounds when you flip the AeroPress, thus the grounds get more time to get fully saturated. You have more control over the bloom time and brewing time as there are no leakages.
The inverted method saves you from having grounds trapped at the backside of the plunger’s rubber part, making it easier to clean. It comes in handy while camping and you don’t have a proper kitchen sink to do the cleaning.
As the grounds steep, the coffee oils rise to the top of the carafe. As you turn the AeroPress upside down, the oils get mixed to enhance the taste of your brew. It’s not only pleasing to taste but also a great visual treat for the eyes.
An inverted method gives you the benefits of full immersion brewing, so you get an experience like a French press (click to see how to make French Press at Home). If you like your coffee strong and full of flavor, this method will get you hooked!
Another thing I absolutely like about the inverted AeroPress method is that it allows you to accurately measure the water-to-grounds ratio. You can stay consistent with your measurements.
What I Don’t Like About The Inverted Method
It may cause a spill or a burn if you are not careful. You must hold the cup and AeroPress body firmly when flipping the brewing device into your mug or you may accidentally burn yourself.
After you have turned the brewing chamber upside down, you will notice that some of the coffee grounds get stuck inside the walls of the chamber. Use a spoon to stir and put the grounds into the water for full immersion.
What About The Normal AeroPress Method?
The normal method follows the instructions as they are printed in the manual that ships with the AeroPress. It is a mix of the pour-over method with a French press and the paper filter style. So, it is a culmination of three diverse brewing styles into one.
The only issue I notice with the traditional upright method is that the coffee starts leaking as soon as you pour water over the grounds. What collects in the cup is a super weak and under-extracted brew. The inverted method eliminates this and gives you a fuller-bodied and a cleaner cup of strong Java.
What I Like About The Normal Upright Method
It is easier to understand and follow for those who are using an AeroPress for the first time. For beginners, I would recommend using the upright method a few times to get the hang of it before trying the inverted method.
As the coffee grounds sit at the bottom, it creates a self-filtering layer that is missing in the inverted style of brewing.
What I Don’t Like About Upright Method
Coffee begins to leak through the filter almost immediately as you pour water. This can cause a mess if you don’t place your AeroPress over a cup.
Loss of water, in the beginning, results in under-extraction of a small portion of your coffee. Loss of water might mess with your preferred strength if you are too particular about it.
How To Control Water Dripping From Normal AeroPress
To find a fix for water dripping from the filter, I searched the internet extensively to find a solution for it. I knew if it’s a problem for me, it must also irk millions of coffee lovers and experts around the world. Luckily, I found a solution that I would like to share with you.
If you plunge the plunger a couple of centimeters inside the glass vessel, this will stop the premature leaking of coffee. While this is a sure-shot fix, on the downside, you will press out a little more under-extracted coffee in the process.
As water seeps out of the carafe in the beginning and again when you try to seal it by plunging the plunger deeper inside, this changes the water to grounds ratio drastically.
How To Brew Your Coffee In An Inverted Aeropress

With so much going in the favor of an inverted Aeropress, I am sure you must be eager to try out this brewing method. The instructions in the manual tell you about the upright method, which is the way it was intended to be. To try out the upside-down style, follow the steps below:
Measurements – The coffee to water ratio for inverted coffee should be 1:16. For this recipe, I use 17g of coffee grounds so the water measurement should be 270g.
Grind consistency – Use a burr grinder ratio for grinding your beans a bit finer in consistency than drip brewer. It should be a little coarser than what you use in Turkish coffee. To be specific, it should be of table salt consistency.
Boiling water – Prepare for brewing by boiling water to a 195-205F temperature range. Use a thermometer to measure the temperature. If you don’t have a thermometer, boil water and then let it cool for 45 seconds before using it. Wet the paper filter to get rid of the papery smell for brewing.
Set up – Now insert the plunger into the top vessel and set the device upside down on a stable platform with the filter-side on the top.
Step 1:
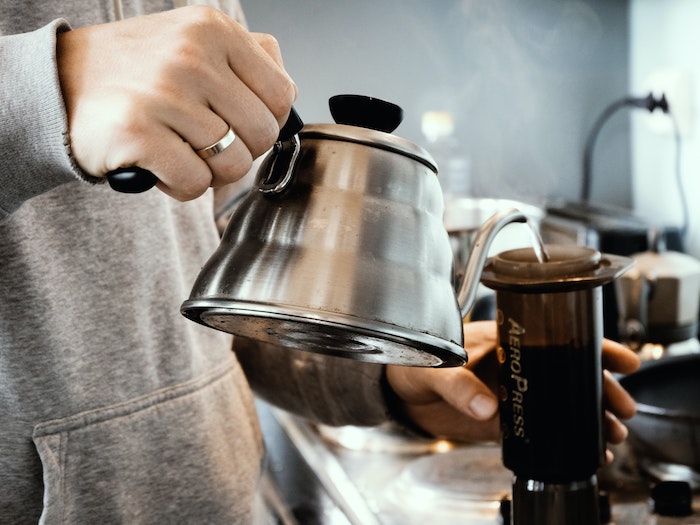
Add coffee grounds and pour water using a kettle to submerge the grounds completely. Use a plastic spoon to stir the mixture and ensure that there are no dry grounds.
Step 2:
Let the mixture sit for 20 seconds to allow the grounds their initial bloom time. This helps in preparing the grounds for the main extraction process.
Step 3:
Next, pour the remaining water into the carafe ensuring that the grounds are one-fourth inch away from the top. Use the spoon to stir again so that all grounds are fully immersed and allow a steeping time of one minute.
Step 4:
Now, attach the paper filter on the top of the vessel and put your coffee mug on top of that. Place one hand firmly on the mug and the other one on the Aeropress body and flip smoothly. Be careful as you may spill the mixture if you don’t hold them tightly.
Step 5:
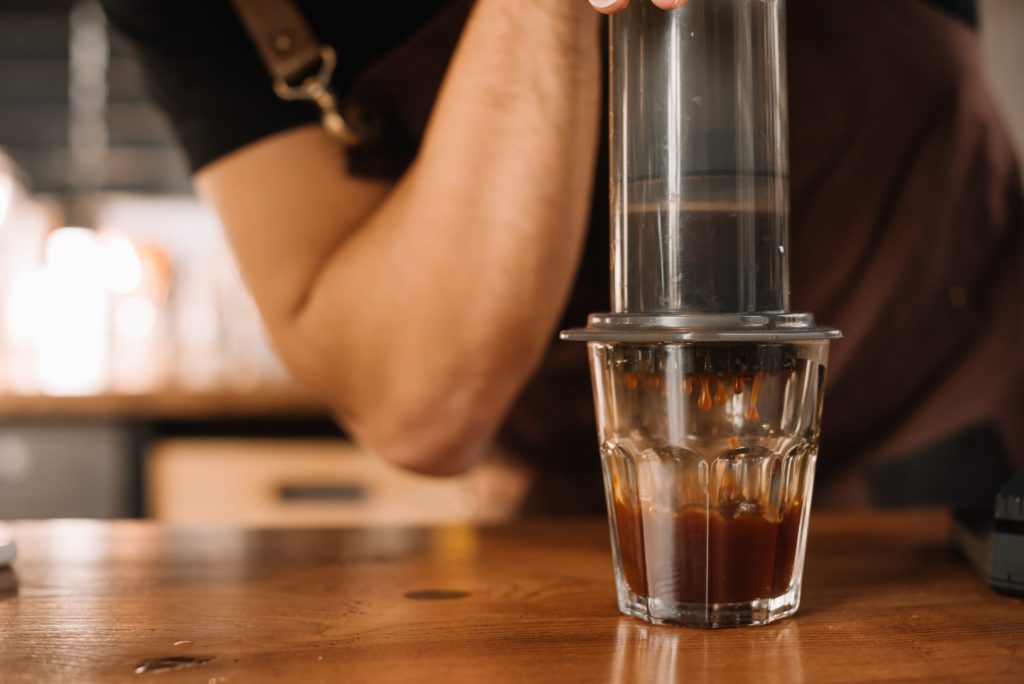
Position your body straight over the plunger and gently press it down and hold for 20 seconds. Stop when you hear a hissing sound that is caused when air escapes the Aeropress. This means the filtration process is completed.
Step 6:
Aerospress makes a concentrated brew and the inverted method gives you a strong and consistent cup of Java. You may add some water or milk as per your preference to dilute the brew and enhance its flavor. I recommend adding water or milk slowly so that you do not over dilute the brew.
An important tip –
When pressing the plunger, make sure you do not press it all the way as this may result in fine grounds seeping into your coffee. Grounds in your coffee will result in a bitter taste. Also, the Aeropress may slide away if you press too hard or fast. Remember to press slowly and apply even pressure to prevent spilling.
7 Reasons That Make Aeropress A Great Brewing Device
1. Highly portable
The Aeropress is lightweight. You can carry it with you wherever you go. Even if you are camping in the woods, you can treat your senses with a great cup of Joe.
An Aeropress and a hand grinder can easily fit into your backpack along with other camping gear.
2. Very durable
As the Aeropress is made of BPA-free plastic, it is extremely durable and hard to break. Even if it falls accidentally when brewing, it won’t break into a dozen pieces.
3. Self-cleaning device
As the Aeropress is self-cleaning in nature, it is great for everyday use. As the plunger seals against the chamber walls, the grounds don’t get stuck to the sides. Chuck out the used grounds and rinse. You are ready to brew again!
4. Minimizes Waste
You can reduce waste by using reusable metal filters instead of paper filters. This will ensure that the only waste is the spent coffee grounds.
5. Pocket-friendly!
The Aeropress is often referred to as the poor man’s espresso. You get an amazing device that can make great coffee at a reasonable price. You can find the entire Aeropress pack comprising the top container, bottom vessel, and filter cap at an affordable price at Amazon.
6. Versatile
This is what I love most about my Aeropress. It lets me brew upright in the normal style or do it upside down when I wish to try the inverted brewing method. While most coffee fans may not notice a difference between the inverted and normal press, the former one scores slightly higher in terms of flavors.
7. A Great Tasting Coffee!

I have been a fan of Aeropress since I bought it two years ago. What started as a curiosity about trying an innovative device soon turned into a passion for experimenting with different styles and recipes.
Frequently Asked Questions About Aeropress
Why should you use a good-quality grinder
Witha good grinder, you will get a uniform size, just like table salt. Grinding too fine will make it hard to press the plunger and particles of different sizes will block the water flow. I recommend using a burr grinder for best results.
What is the right grind size
Always use an espresso or fine drip grind for Aeropress. That’s the reason why I suggest you grind to table salt consistency just before brewing. If you don’t have a grinder, let the pre-ground coffee sit a little longer or use a little more coffee than usual to get that awesome taste.
What is the recommended water temperature
I recommend 175F for the dark roasts and 185F for medium to light roasts. These are ideal temperatures to give you a sweeter taste without bitterness and acidity.
Why do I find it hard to press
If you are finding it hard to press, you probably need a sharper grinder to get a uniform grind consistency. Press gently without applying a lot of pressure. After pressing down half an inch, hold the plunger and let the pressure push for you. Press again after 5 seconds until completely done.
What is the advantage of using inverted method?
The inverted Aeropress prevents the premature dripping of coffee so you have better control over the brew time. As you push the plunger, you get a well-brewed and strong cup of Java.
Difference Between Inverted And Normal Aeropress: The Final Words
If you are overwhelmed by the hype around Aeropress, let me tell you that the hype is for real! I often see Aeropress as a tool that helps me discover new recipes and experiment with different brewing methods. The inverted style, for example, is not how Alan Adler visualized it to be, but it still works great! Better, I must say!
As a beginner, you may not be able to tell any difference between an inverted andnormal Aeropress method of brewing. They both taste great. However, an expertwith a developed palate will notice a difference.
The normal method gives you a slightly weaker brew than the inverted style.
This difference in flavor is due to under-extracted coffee leaking out of the filter immediately as you add water during the normal Aeropress method. Fortunately, the inverted brewing method fixes this problem and saves the poor man’s espresso! Your Java just got better. What else can youask for?
See Also:
DOES THE AEROPRESS MAKE REAL ESPRESSO?
12 WAYS TO MAKE COFFEE LESS ACIDIC
You mention ” boil water and then let it cool for 45 minutes before using.” I guess you meant 45 seconds, as 45 minutes would give you water at ambient temperature. The usual recommendation for getting water at the right temperature is to boil it and then let it sit for one minute, but if you use a small kettle, I guess less than a minute will be fine.
Thanks for letting me know!