You can refill Nespresso pods with your own coffee using reusable capsules or DIY methods.
Reusable stainless steel capsules work best. Refilling original pods is possible but messy. We cover both approaches.
How To Refill Nespresso Pods
You must carefully perform every step to ensure the espresso comes out of the machine exactly as it would with a new pod. Performing these steps correctly takes practice, but they’ll become second nature in no time. Check out these Nespresso competitors.
Equipment:
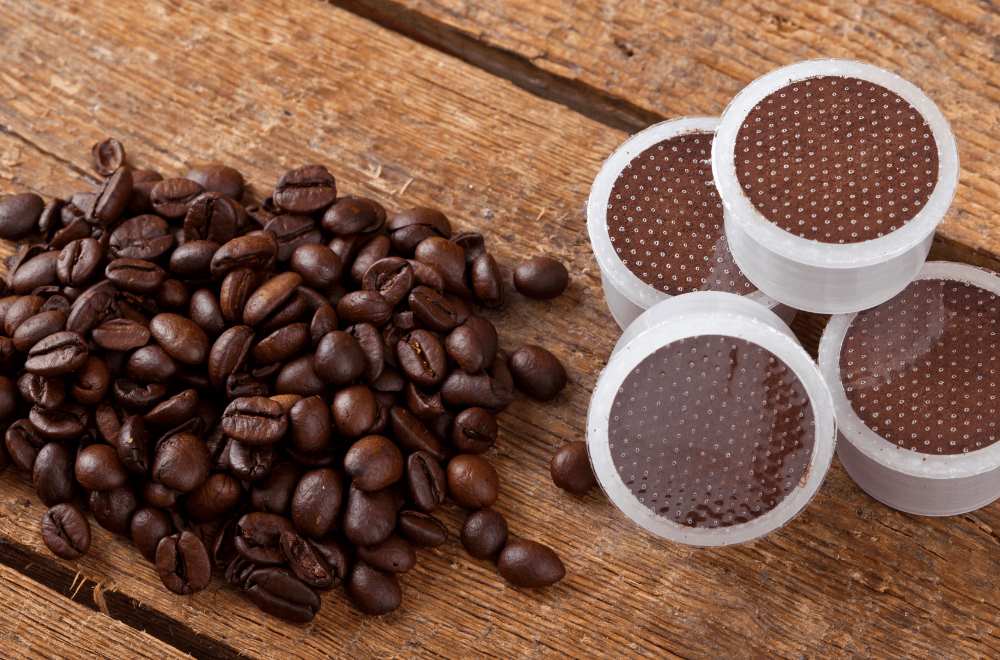
- One used Nespresso capsule
- Your favorite espresso coffee
- Thin aluminum foil
- Scissors
- Your Nespresso machine
We suggest using an old pair of scissors for this process because cutting aluminum foil can damage them. It’s best to designate one old pair for your Nespresso refilling needs.
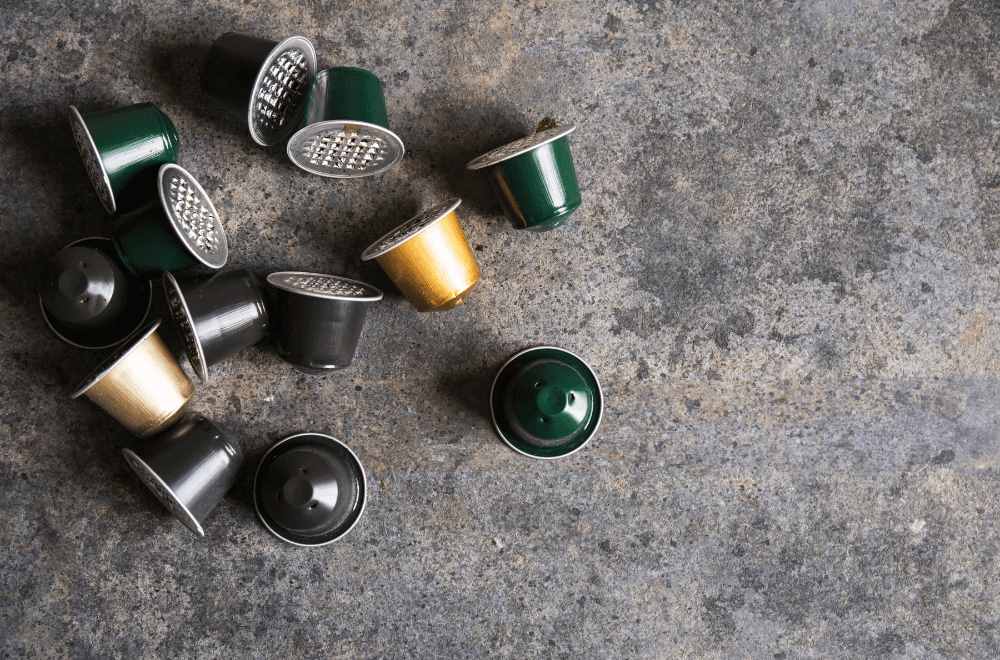
Step 1: Clean The Used Capsule
Take the used Nespresso capsule out of the machine. Use a small knife to clean out the coffee grounds thoroughly. There should not be any grounds left in the capsule.
Thoroughly wash and dry the capsule. The capsule must be completely dry before refilling.
Step 2: Fill The Capsule With Fresh Espresso Grounds
Espresso grounds are typically very fine dark roast beans to ensure the best flavor, so start by selecting your favorite espresso. Pack the new espresso grounds into the cleaned capsule tightly. Learn more in our explainer on how do coffee pods work.
Clean the rim of the Nespresso pod carefully to ensure no espresso granules remain. Nespresso machines make perfect coffee because they are intolerant to imperfections.
Step 3: Tightly Place The Foil On Top Of The Pod
This may be the first time you’re directed to buy cheap, flimsy aluminum foil. However, the heavy-duty stuff is too durable for this job. The goal is for the pressure within the capsule to break the aluminum foil, which is why the heavy-duty version doesn’t work.
Place the foil on top of the pod, then flip it over and crimp the foil firmly around the edges. Use your fingernail or a credit card to ensure the foil is firmly pressed against the underside of the rim.
Do not let the foil touch the body of the pod. This is another critical detail that can cause the seal to become loose. Hot water will leak around the sides of the capsule instead of through the Nespresso pod.
Step 4: Brew Your New (Used) Nespresso Pod
Gently place the pod you filled into the Nespresso machine and brew either a small or large cup, depending on your preferences.
Step 5: Taste Your Espresso And Make Adjustments
The process of filling a used Nespresso pod takes practice. Your first cup of espresso with a reused pod will likely not come out exactly as desired.
Examine the pod after brewing to see if there’s anything you can improve upon. Maybe the foil was not on tight enough, or it was touching the cone part of the pod. You’ll also want to see if the espresso was packed tightly enough into the pod.
Step 6: Clean The Pod And Use It Again
The final step in the refilling process circles back to step one. Assess the changes you need to make, clean the pod, and use it again. Once you perfect the cleaning and reusing processes, you’ll find that you save a lot of waste by not throwing these pods into the trash after every use.
You’ll also save on your weekly and monthly coffee bills because Nespresso users know that new pods are not cheap.
Can You Use The Same Nespresso Pod More Than Once?
Many Nespresso drinkers conserve pods by running the same pod through the Nespresso machine twice. Nespresso warns against this because the flavor of the second espresso is more watered down and weaker than the first.
If you’re refilling the pod, you can get a few uses out of it, but you cannot reuse it indefinitely as the capsule quality will deteriorate. Ensure you have thoroughly cleaned the pod after every use.
Our Testing Notes
We’ve tested this brewing method extensively in our coffee lab, and here’s what the data doesn’t always tell you:
Water temperature matters more than most guides suggest. We found that 200-205°F consistently produced better extraction than the often-recommended 195°F. The difference was especially noticeable with lighter roasts—underheat them and you get sour, underwhelming coffee that wastes good beans.
The grind size recommendations online are a starting point, not gospel. Your specific grinder, beans, and even altitude affect optimal grind. We keep a brewing journal and adjust by one click finer or coarser until dialing in a new bag. Takes about 3 brews to nail it.