A blender can grind coffee beans in a pinch, but the results are inconsistent compared to a proper grinder.
Pulse in short bursts to avoid heat buildup. Expect uneven particle sizes that may affect extraction. It works for emergencies, not daily use.
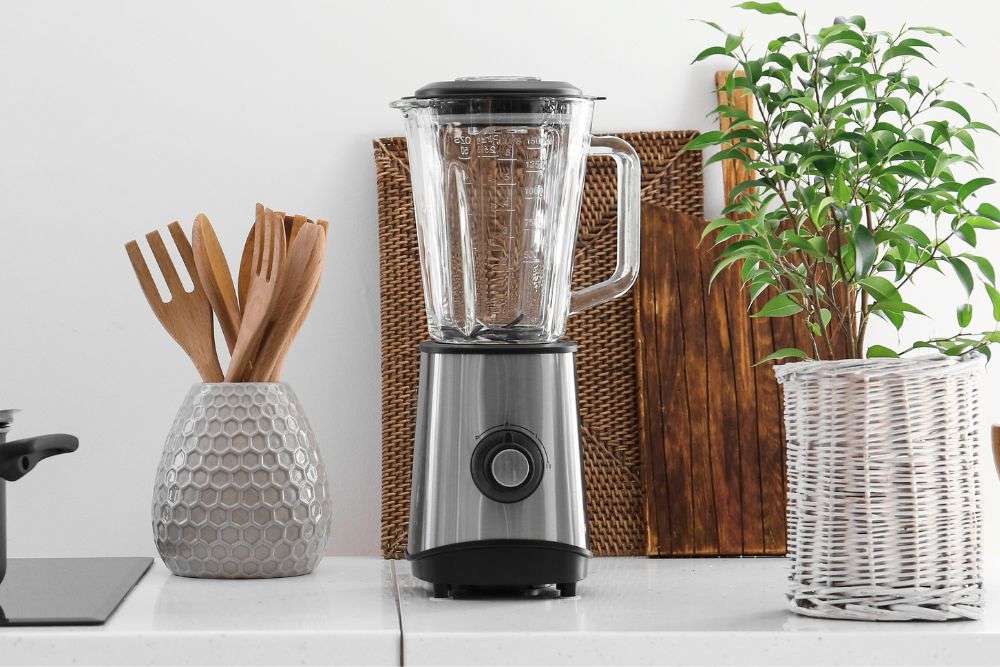
Choosing The Right Blender
A blender is an excellent alternative to a coffee grinder because it’s built with many similarities. One is the blade at the bottom of the blender, which crushes the coffee beans into the grounds.
Most Ninja blenders have the power to make a consistent coffee grind out of whole-bean coffee. It’s best to go for a blender with enough power to grind your coffee beans easily, making a consistent grind ideal for a smooth cup of coffee.
Aim for at least 500 watts of power or more, and remember to choose a blender with various speeds and settings, most importantly a pulse mode. Remember, inconsistent coffee grounds will make a lousy cup of coffee no matter your brewing methods, so make sure to use the right technique to get a nice consistent grind.
Nutribullet blenders are also a great choice for grinding coffee beans at home; the flat blade is a great tool that can finely grind nuts, seeds and coffee beans, making a finer grind ideal for use in espresso machines.
Preparing The Coffee Beans
You’ll need to prepare your beans to achieve a good grind for your brew! When you try to grind coffee beans without a grinder, the steps are similar to how you prepare with a coffee grinder. Follow these steps to make the best coffee:
- First, make sure you have some digital scales; these are the most accurate, and accuracy is essential for making a great cup of coffee.
- Place a cup on the scale and zero so that you will only be measuring the weight of the coffee beans.
- Add a few coffee beans until you reach 30 grams (1.1 oz). This is an ideal measurement for making around three regular-sized cups of coffee at a medium strength.
- Calculate how many cups of coffee you’re going to make and adjust the measurements. For example, double it if you’re going to make six regular cups or three large cups.
Tip: If you’re a regular coffee drinker and like your brew to be strong, add a few extra beans to increase your strength.
Grinding The Coffee Beans
Before diving into the grinding process, you’ll need to understand some background information. If you plan to use your blender to grind your coffee beans, check if the blender has the grinding settings. Some blenders are designed with the setting, and it is meant to grind coffee, and you’ll get top results.
So if your blender has the setting, you are at a vantage point. Most blenders work similarly to a blade grinder which is why they make such a great alternative. Coffee pros might opt for a burr grinder, which can make a more consistent grind than a blade grinder, but both make high-quality cups of coffee.
Besides, blenders work best with some liquid to help the solid move around. However, when grinding coffee beans, you do not need the liquid. So, to prevent the blades from hanging and overworking the motor, grind in short quick bursts instead of letting the blades run.
The short, quick bursts also prevent coffee beans from overheating. Overheated coffee beans tend to lose their natural oil and flavors, and you may end up with a bitter-tasting brew.
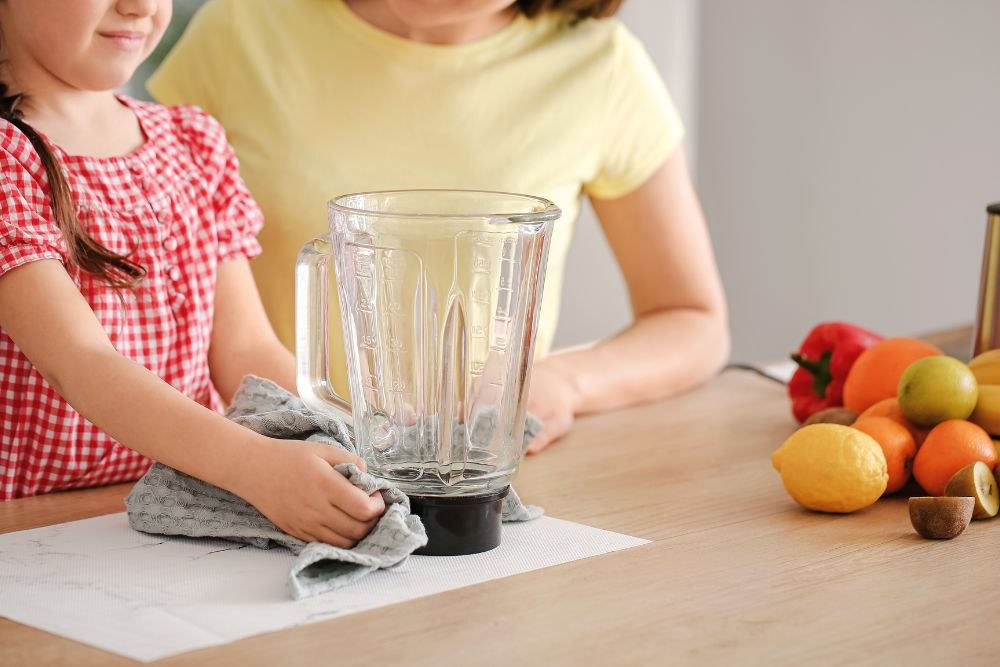
It’s preferred that you use a glass blender like this instead of a plastic one. To start, a glass blender does not absorb food odors, oils, or flavors. As such, it may not release a random milkshake taste to your coffee beans, and neither will your next fruit juice have traces of coffee.
Moreover, glass benders are not easily scratched, especially when grinding hard items like coffee beans. It also does not get discolored, given that coffee has a history of discoloring things. So, if you want to keep using your blender for its intended purpose after the coffee, use a glass blender for crushing your coffee beans.
Also, if you plan on grinding a large amount of coffee beans (more than a few servings), blending them in small batches to maintain a consistent grind is best.
Now that we have explored some basic guidelines, here is a step-by-step process of grinding your coffee beans in a blender.
Choosing Your Grind Size
The desired grind size of your beans will depend on the coffee you will make. When you’re grinding coffee with a blender, the downside is that you’ll need to gauge the grind size by eye and estimate. You can use a few tricks to help you get a coarser grind or finer grind.
| Grind Type | Coffee Brewing Method |
| Coarse | French Press coffee, Chemex coffee maker, Cold Brew coffee |
| Medium | Pour-over brewers, drip coffee machines |
| Fine | Espresso machines, Stovetop espresso |
For a coarser grind, pulse your coffee beans or blend in short bursts for 8- 10 seconds; for a medium grind, try 10 – 15 seconds, and for a finer grind, 15 – 18 seconds. Blending in short bursts is important to prevent the beans from heating up; if they heat up, they can lose their flavor. For best results, tip your blender from side to side while grinding for a more even grind.
How To Grind Coffee Beans In A Blender
Step 1: Ensure the glass blender is tightly covered with its lid unless you are looking for an explosion of coffee beans on your counter.
Step 2: Through the smaller opening, place a small number of coffee beans.
Step 3: Start the blender on the pulse setting to prevent the beans from being burnt. If the blender does not have the pulse setting, grind the coffee beans in a short quick burst allowing the blender to rest after roughly 10 seconds.
Step 4: Once you have ground the beans to the coffee grounds of your preferred texture, brew your favorite cup of caffeine.
Step 5: Store any leftover grounds in a ziploc bag and remove excess air before sealing to keep them fresh. Store your coffee in the fridge and use them the next day. You might also be interested in our coffee grinder vs. blender guide.
Cleaning The Blender
After grinding coffee beans, you’ll need to clean your blender thoroughly. If you don’t clean out your blender, the coffee dust and oils can coat the mechanics of the blender, which can overwork the motor and cause it to fail. As well as this, remnants of coffee beans and oil can make future brews go rancid.
To clean your blender after grinding coffee beans, follow these steps:
- Add 1/4 cup of uncooked white rice or until the blades are covered.
- Run the rice in the blender for around a minute to collect the oils and remove the excess coffee grounds.
- Repeat this a few times until the blender is clean.
- Unplug the blender and use a damp cloth or paper towel to wipe the inside of the blender and the blade. Be careful when wiping the blade, and move slowly to prevent injury.
Conclusion
Coffee bean grinders can be expensive; if you’re on vacation, your holiday home might not have one. Make some of your own coffee with fresh beans by using a blender as an alternative to the usual grinding process.
Although pre-ground coffee can be ideal if you’re looking for a quick cup of coffee, you’ll need to try grinding your coffee beans at home to get a great coffee taste of barista quality.
Now you know everything you need to know about grinding coffee beans in a blender, you’re ready to start trying it out yourself! Remember to blend the beans in short bursts, a few seconds at a time, and keep blending until you have the desired consistency. Happy brewing!
FAQ About Grinding Coffee Beans In Blender
Can I grind coffee beans in a blender?
Yes, grinding coffee beans in a blender is a great alternative if your coffee grinder is broken or you’d like to try out fresh ground coffee before investing in one. You’ll need to make sure your blender is powerful enough before use and make sure to grind the coffee beans in short bursts to achieve a consistent grind.
Can I grind coffee beans in a magic bullet?
You can grind coffee in a Magic Bullet, but it’s not the best method. Grinding your coffee beans in a magic bullet can create a clump of in-processed and mulchy beans that are often inconsistently ground. To get the best results, use a full-sized blender or food processor.
Check out our guide Coffee Grinder Vs. Spice Grinder for more!
Our Testing Notes
We’ve tested this brewing method extensively in our coffee lab, and here’s what the data doesn’t always tell you:
Water temperature matters more than most guides suggest. We found that 200-205°F consistently produced better extraction than the often-recommended 195°F. The difference was especially noticeable with lighter roasts—underheat them and you get sour, underwhelming coffee that wastes good beans.
The grind size recommendations online are a starting point, not gospel. Your specific grinder, beans, and even altitude affect optimal grind. We keep a brewing journal and adjust by one click finer or coarser until dialing in a new bag. Takes about 3 brews to nail it.