Being a coffee enthusiast, I bought a machine and learnt the art of steaming milk. Here, I cover 15 steaming milk mistakes to avoid.
Who does not love a nice coffee to start the day, or to take a break, or to simply relax? I am an unflinching coffee enthusiast and that is the reason that I bought one trending coffee maker about six months back. But, only after buying it, I realized that everything is not as easy as it sounds.
The first challenge to make a good coffee is to know the art of steaming the milk, something that I was used to seeing at the coffee shop but never realized the nuances of the same.
Only after passing through the experience myself, I realized that steaming milk can be harder than even making espresso. The process may be simple but will need diligent practicing to master.
Not only it required the involvement of all my senses as hearing, touching, etc but if you do it wrong you will be faced with intimidating sound and lots of heat. The steaming consists of two parts; the first part is “stretching” which basically involves aerating the milk and the second part is “texturing” which involves emulsifying.
I learned that to make a great latte or cappuccino, we should play the game right to have a creamy and smooth batch of milk after steaming. Improper steaming can really make or break a great coffee.
To help readers from my experiences, I have listed here 15 common mistakes that one must not do to be able to master the steaming process.
- 1. Cappuccino Bounce
- 2. Using the Wrong Size Jug
- 3. Moving the Jug
- 4. Steam Tip Is Too Low
- 5. Steam Tip Is Too High
- 6. The Wrong Pressure
- 7. Not Enough Milk Volume
- 8. The Wrong Type of Milk
- 9. Not Purging the Steam Wand
- 10. A Dirty Steam Wand
- 11. Too Much Heat
- 12. Not Holding the Jug Properly
- 13. Not Allow the Milk to Sit
- 14. Using an Incorrect Spin
- 15. Overheating the Milk
- Other Common Steaming Milk Mistakes
- How to Froth and Steam Milk for Latte Art, Cappuccino?
1. Cappuccino Bounce
From my childhood, I learned the crude way of bouncing the jug up and down to create froth in milk. But, it created big bubbles and today I can suggest that this method must be avoided at all costs. We need to keep the jug as still as possible and allow the steam to do the work.
2. Using the Wrong Size Jug
While steaming milk I always use the right size jug, such that neither it is under-filled nor over-filled. If the jug is underfilled then milk will get extra fluffy, and if overfilled it will be difficult to get desired silkiness.
I suggest to use 600 ml jug for making 2 cups of coffee and accordingly we can select the jug size as per the number of cups that we want to make.
3. Moving the Jug
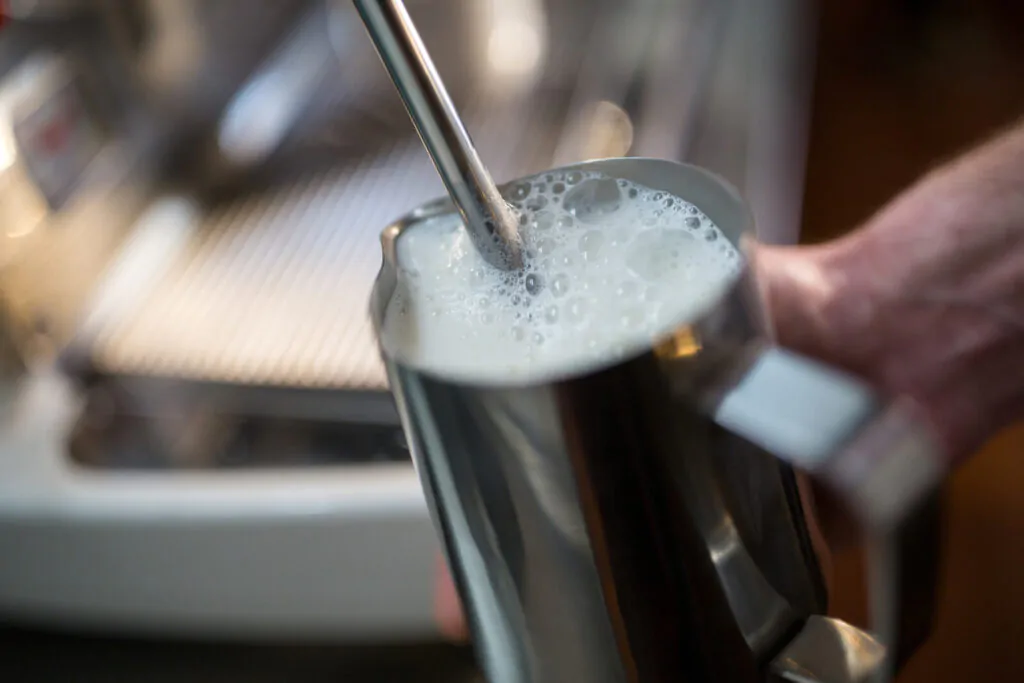
Never dance with the jug during steaming. It means avoid shaking, rotating, and moving the jug. Keep the jug as still as possible and let the steam wand do the magic.
My preferred method is to keep the steam wand about 2 mm below the milk surface, make the tip of the wand enter the milk just off-center, and point it towards the opposite bottom of the jug. The idea is that as you start to steam, the whirlpool should be made straight away.
4. Steam Tip Is Too Low
Initially, when I was learning the art of milk steaming, I used to create high pitch sounds, not really knowing where was I wrong. Later on, I realized that the tip of the steam band needs to be lowered to the right depth to stop the squealing. If you lower the tip of the steam wand too deep in the milk then the final product will be flat with a poor creamy texture.
5. Steam Tip Is Too High
If the tip is too high, besides creating the high pitch sound, it can create big air bubbles and we may fall short of space in the jug. I always make sure that the crackling sound of putting steam in milk is made to stop after a few seconds at max and creating a whirlpool at the earliest.
6. The Wrong Pressure
Initially, when I was new to the game, I was afraid to turn on the steam knob at the right time in the right way. Once the screeching sound used to start, I used to assume that opening the steam knob slowly will help, but the always opposite happened.
Finally, I learned to bite the bullet, and understood that once the tip of the wand is at the right depth in milk, the steam knob should be opened fast enough to stop the crackling sound in the minimum possible time.
Here the steam pressure is important. A good coffee machine should create a steam pressure of 1 to 1.5 bars to be able to make the perfect milk foam. If planning to buy a machine, make sure that the chosen machine is able to produce this much pressure.
To measure the steam pressure, the machines are normally equipped with a pressure gauge which tells the pressure in the steam boiler. Once we use the machine, the pressure will go down substantially and will take some time to regain it as per further build-up of steam.
If the steam band has a design with more than one hole on the bottom, it will help to create the right amount of turbulence in the pitcher to give the right bubble texture of milk.
7. Not Enough Milk Volume
If I use a normal jug, then I fill it in about half. If I have access to a steaming pitcher with a pouring spout, I make sure that the level of milk is about 1 cm above the bottom of the spout.
If the pitcher is overfilled, there can be milk all around and if it is underfilled, the milk will swirl too rapidly and will have big bubbles. It will also heat up quickly, something undesirable!
I have observed that to be able to fill the jug to the right depth, we should fill half pitchers of different sizes to be able to make 2/4/6 cups of coffee in one go.
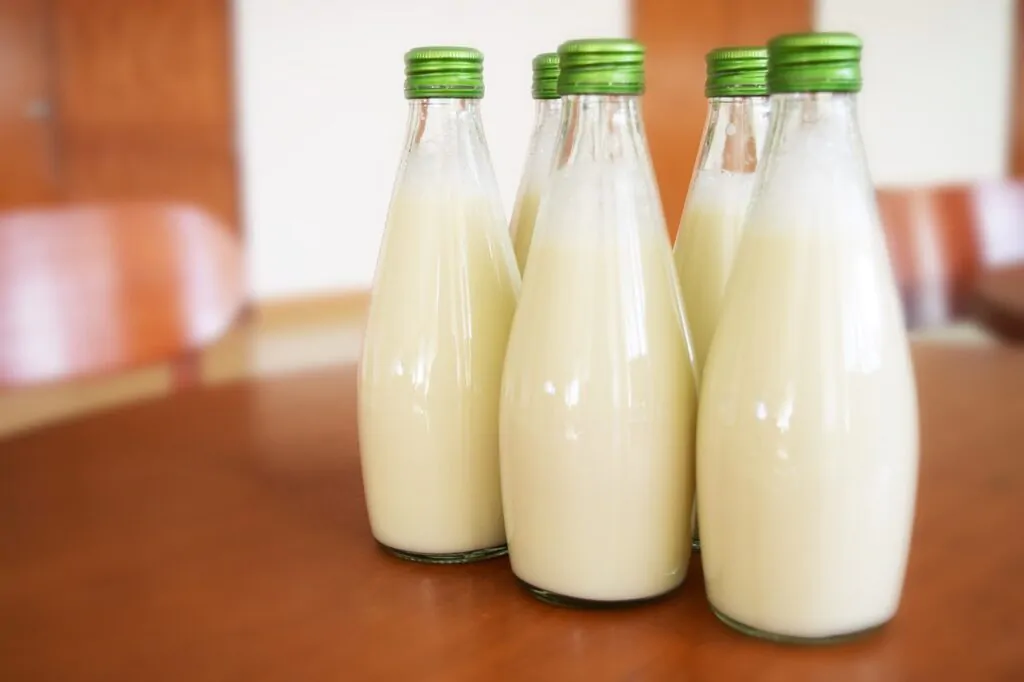
8. The Wrong Type of Milk
During my journey to become a steaming expert, I took the time to learn the art of choosing the right milk type. We must not forget that milk is, after all, a food item, and adding heat to it will change its properties.
Milk is nothing but a protein-rich liquid to provide the desired nutrient to newborns. When heat is added to milk through steam, it interacts with this protein and understanding this is important to master the art of giving the right texture.
The quality of foam produced depends on the way the milk proteins interact with steam. So, I try using a microfoam with small and tight bubbles to form a creamy matrix on top of the final finished liquid. To be able to make perfect latte art, we need a perfectly smooth and silky froth.
Steaming milk is akin to scrambling eggs. An egg once cracked and poured on the hot plate gets cooked and changes its texture and then cannot be cooled back to the original shape. Similarly, milk once heated and exposed to heat changes its texture and cannot be brought back to the raw state after cooling.
So, it is always right to steam the milk perfectly in the 1st instance itself and avoid reheating it. Similarly, I never mix fresh un steamed milk to steamed milk, as this way the final product is not of the best quality. My advice, always start with fresh milk and steam it only when you need it to make coffee and never do it twice.
9. Not Purging the Steam Wand
Steam is nothing but heated water, and naturally, it accumulates in the steam wand. That is why during steaming we get only water during the first few seconds. It is definitely not good as it creates big bubbles in beginning itself, thereby reducing the quality of foam.
To avoid this, I always allow the steam to purge through wand for few seconds before starting and after completion of the steaming process.
Steam purging also helps to clear the wand of the milk then gets sucked inside due to the formation of vacuum after the steam knob is closed. If it is allowed to stay in the wand, it will dry and clog the nozzle and disturb the quantity of steam spray next time.
10. A Dirty Steam Wand
I always feel that most of the baristas forget this simple but very important maintenance aspect. If not attended, milk will build up and finally break off as chunks. To avoid this, wipe the wand bottom by twisting and cleaning the wand properly.
11. Too Much Heat
This is one other area, where I committed lots of mistakes in the early days of my journey to learn the art of perfect steaming. If overheated, the protein gets damaged and form a fluffy texture, and disturbs the taste of milk.
It is said that once it’s heated above 70 °C, the proteins in milk undergo an irreversible change in their composition. That’s why I always prefer to heat the milk around 65(149°F) to 70°C (158°F), with 70°C to be the super-hot zone and safe to get the right foam level.
12. Not Holding the Jug Properly
Holding the jug properly during steaming is also important. I prefer to keep my hand around the jug. It helps to judge the milk temperature during steaming. My thumb rule – If I cannot hold the jug directly in my hand for more than 3 seconds, it means that it is about to be at the maximum temperature.
This is the time to turn off the steam. Only if I want my coffee extra hot, I continue steaming for 2-3 seconds more. I prefer to use preheated mugs before pouring the coffee. It helps to keep the coffee warm for long.
For this, I always use good quality mugs, and to heat them I use hot water.
13. Not Allow the Milk to Sit
This one mistake of allowing the milk left sitting on the bench before pouring can spoil all the good work done till that stage. If the milk is allowed to sit, it will settle and separate. It eventually becomes hard to pour. To check if the milk has separated, tilt the pitcher by 45 degrees and if the milk separates then it is bad.
To avoid separation, I always prefer to swirl the milk while pouring it into the coffee. I sometimes use another jug to keep the milk mixed properly, but make sure that the second jug is warm else the milk becomes cool and difficult to pour.
The fat content in the milk also has a marked effect on steaming efficiency, but with time I have learned to handle all kinds of milk. If the fat content is less than it is better to maintain a whirlpool for a bit longer to bring the right silky texture. Different kinds of milk behave differently to steaming.
Lactose-free milk gets high foaming, so less aeration is recommended. For almond milk, I prefer lots of aeration to get the perfect latte. Organic milk is best for steaming as the foam with such milk is just great and fun to pour.
14. Using an Incorrect Spin
The air and liquid in milk are mixed through spinning, hence correct spinning is a must to create the perfect texture. I make sure not to add more than the required air during steaming.
Alternatively, I can also opt for folding the milk, but this method is difficult to control and leads to spillages on the bench and floor. To get the perfect spin, I line up the steam wand with my body before the start.
Then I place the tip of the steam wand in the center of the jug such that the holes are just immersed under the milk top. Then I tilt the jug by 20 degrees to one side such that when milk-steaming starts, it spins the milk in the jug, and a whirlpool gets created.
15. Overheating the Milk
If the espresso cup is tasting burnt after steaming on an electric espresso maker, it is an indication of overheating of milk. To control this, I allow the steam to pass through the wand for some time so that the steam pressure in the boiler gets reduced and so the temperature. Next time when steaming is done, the coffee will be ready at the right temperature.
Other Common Steaming Milk Mistakes
Besides the above important aspects stated above to get the correct steaming, I suggest taking care of the following points too…
- If no steam is coming out of the nozzle, check it for clogging by first turning off the steam valve. Use a pin to clear the holes of the nozzle tip. Then allow a burst of steam to pass through.
- Make sure that milk is swirling fast enough else it will scald and boil.
- If there is a slurping sound while steaming, it is an indication of low pressure.
- Also, if I am not able to get enough steam for an espresso maker, after using it once, it means that the temperature is low. I then leave the machine and allow steam to build before using the machine again.
- If I am not able to get the required steam from the espresso maker in which an air tube is attached to the steaming wand, then the tube needs to be checked for clogging. If the air bubbles are too large even after all precautions, try using the machine without the air tube.
- When using the espresso machine for the first time, allow the steam to pass through for some time till the time we start receiving dry steam at the tip of the steaming wand.
- While handling the rice milk or soy milk, I suggest slurping the milk for a bit longer to be able to get the desired froth.
How to Froth and Steam Milk for Latte Art, Cappuccino?
For a coffee lover, it is always a great moment to own one, but knowing how to steam milk may sound simple but definitely not easy. I am sure that if you follow all the above tips then with some effort anyone can master the art of steaming and will be able to do it like a pro.
I have tried to compile all I have learned during my journey to learn the art of steaming and am sure that these will also help you to do it like an expert.
See Also:
CAN YOU USE COFFEE CREAMER IN A MILK FROTHER?
DOES ADDING MILK TO COFFEE REDUCE CAFFEINE?
CAN YOU ADD MILK TO AN AMERICANO?